@devcasp


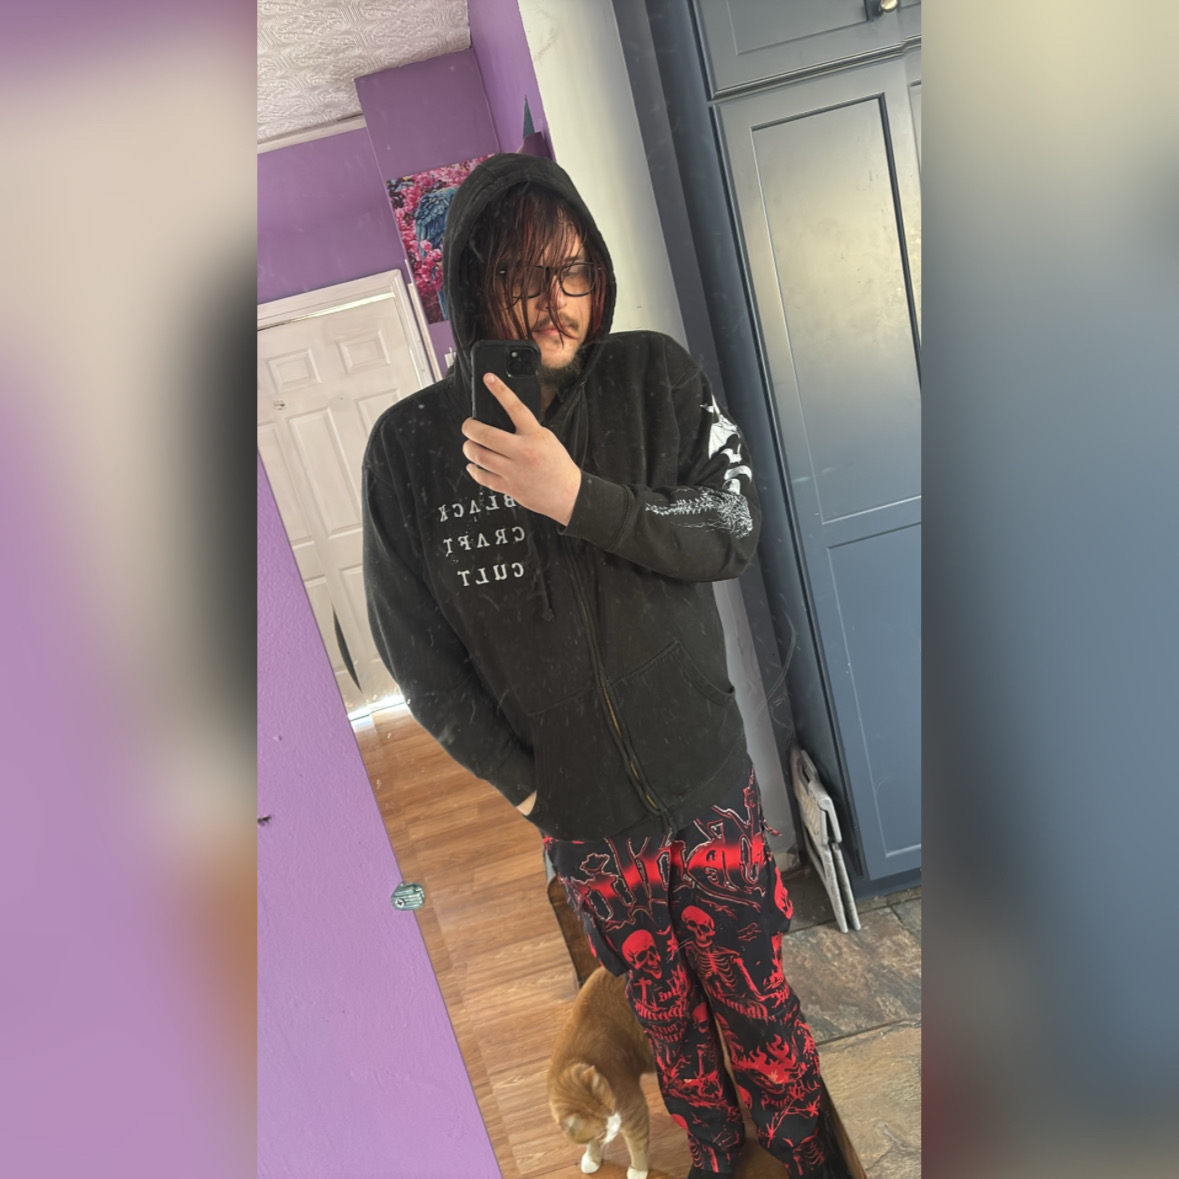
I’m DevCasp • a full stack developer who devs iOS apps, games, emulators, and tools. This site is my portfolio and a place where I share what I’ve been working on, the lessons I learn while deving products, and the music I make on the side. I also work with youtubers.
I’m a full-stack developer focused on mobile and game development. Most of my work lives on iOS • from utility apps and wallpapers to full games and multi system emulators. I also release the occasional Steam title and started as a web dev.
I started programming things after dropping out of high school and made youtube videos on a channel with over 10,000 subs where I shared videos about programming, ios tutorials, pc/mac tutorials, and gaming content.
Outside of apps I own a card shop named cool finds, make music, appear in the occasional video, and keep open sourcing pieces of my work so others can learn from it. This site is the central place for everything I release.

GB • GBA • SNES • DS • 3DS
a milti emulator for ios that emulates games with an immersive feel.
iOS
OTA Signer
A curated place for legitimate IPA distribution with apps from the ios community.
iOS
Custom Halo Wallpapers
Create and apply custom Halo-inspired wallpapers with color controls and export options. Built for fans who want their lock screen to match their style.
iOS
Retro Style bullet hell
A fast-paced 8-bit inspired bullet hell shooter with simple controls, inspired by those tiktok ads where the guy shoots zombies and gets more guys.
iOS
Hell-Themed Puzzle Game
A dark, atmospheric puzzle game centered around Blokie. Short levels, satisfying mechanics, and a strong visual identity.
iOSTap a cell to expand the write up. Every example includes every file required and a write up.
The most common way indie iOS apps get their premium features pirated isn't fancy reverse engineering • it's trusting the client. This tutorial builds a dummy app with a deliberately vulnerable "pro check", shows how trivially mitmproxy and a Theos tweak defeat it, then fixes it the way you actually should: server-side validation.
Everything here is done against a dummy app you build yourself. Do not point any of this at apps you didn't write or don't have permission to test.
The vulnerable app: it calls your server's /api/entitlement endpoint and unlocks premium if the response says so. Three flaws we'll exploit: the check is a simple JSON flag, there's no certificate pinning, and the unlock decision is enforced client-side.
import Foundation

final class PaywallManager: ObservableObject {
    @Published var isPro = false

    // FLAW #1: the app trusts a plain JSON response
    // FLAW #2: no cert pinning, so any proxy can answer for your server
    // FLAW #3: "isPro" is just a local bool • whoever controls it wins
    func checkEntitlement() {
        let url = URL(string: "https://api.yourapp.dev/api/entitlement")!
        var req = URLRequest(url: url)
        req.setValue("Bearer \(savedToken())", forHTTPHeaderField: "Authorization")

        URLSession.shared.dataTask(with: req) { data, _, _ in
            guard let data,
                  let json = try? JSONSerialization.jsonObject(with: data) as? [String: Any],
                  let pro = json["pro"] as? Bool else { return }

            DispatchQueue.main.async {
                self.isPro = pro          // whole paywall rides on this
            }
        }.resume()
    }

    private func savedToken() -> String {
        UserDefaults.standard.string(forKey: "auth_token") ?? ""
    }
}// Your dummy backend • the honest version of this endpoint
app.get("/api/entitlement", async (req, res) => {
const user = await getUserFromToken(req.headers.authorization);
if (!user) return res.status(401).json({ error: "unauthorized" });
// In the vulnerable version, "pro" comes straight from your DB flag
// with no proof behind it. That's what makes the attack below work.
res.json({ pro: user.isPro });
});Install your dummy app on a device, point it at mitmproxy, and install the CA cert (mitm.it from the device). Because the app doesn't pin certificates, the proxy can impersonate your server and flip "pro": false to "pro": true. The app never knows.
from mitmproxy import http
import json

TARGET_PATH = "/api/entitlement"

class PaywallCrack:
    def response(self, flow: http.HTTPFlow) -> None:
        if TARGET_PATH in flow.request.path:
            try:
                data = json.loads(flow.response.content)
                data["pro"] = True  # flip the flag the client trusts
                flow.response.content = json.dumps(data).encode()
                print(f"[+] Patched entitlement for {flow.request.pretty_url}")
            except Exception as e:
                print(f"[-] Could not patch: {e}")

addons = [PaywallCrack()]# Terminal 1: start the proxy with the addon
mitmproxy -s crack_addon.py -p 8080
# Device setup:
# 1. Wi-Fi settings -> HTTP proxy -> your computer's IP, port 8080
# 2. Safari on device -> http://mitm.it -> install the CA cert
# 3. iOS 15+: Settings > General > About > Certificate Trust Settings
# -> enable full trust for mitmproxy
# 4. Launch your dummy app -> premium unlocks instantlyEven with pinning, the flaw remains: the decision is enforced client-side. A tweak hooks the setter/property and forces isPro = YES. No network involved at all. This is why "the server says no" isn't enough if the app decides locally.
#import

// Hook the PaywallManager class from your own dummy app.
// Replace "YourDummyApp" with the actual module/class name
// (use %ctor + objc_getClass to confirm it exists).
%hook PaywallManager

- (BOOL)isPro {
    return YES;   // every read of the flag now returns premium
}

- (void)setIsPro:(BOOL)pro {
    %orig(YES);   // even if the server says false, it stays true
}

%end

%ctor {
    %init;
} TARGET := iphone:clang:latest:14.0
INSTALL_TARGET_PROCESSES = YourDummyApp
include $(THEOS)/makefiles/common.mk
TWEAK_NAME = PaywallBypass
PaywallBypass_FILES = Tweak.x
PaywallBypass_CFLAGS = -fobjc-arc
include $(THEOS_MAKE_PATH)/tweak.mkThe fix isn't one trick • it's moving the trust to the server and making client tampering expensive. Priority order:
import Foundation
import StoreKit

final class PaywallManager: ObservableObject {
    @Published var isPro = false

    // StoreKit 2: transactions are cryptographically signed by Apple.
    // We send the signed payload to OUR server • the client never
    // decides anything on its own.
    func syncEntitlement() async {
        guard let token = savedToken() else { return }

        // Gather current entitlement transactions from StoreKit 2
        var signedTxns: [String] = []
        for await result in Transaction.currentEntitlements {
            if case .verified(let txn) = result {
                // txn.jsonRepresentation is the JWS the server will verify
                signedTxns.append(String(data: txn.jsonRepresentation(), encoding: .utf8) ?? "")
            }
        }

        var req = URLRequest(url: URL(string: "https://api.yourapp.dev/api/verify")!)
        req.httpMethod = "POST"
        req.setValue("Bearer \(token)", forHTTPHeaderField: "Authorization")
        req.setValue("application/json", forHTTPHeaderField: "Content-Type")
        req.httpBody = try? JSONEncoder().encode(["transactions": signedTxns])

        // Pinned session • see PinnedSession below
        let (data, resp) = try? await PinnedSession.shared.data(for: req)
        guard let data, (resp as? HTTPURLResponse)?.statusCode == 200 else {
            isPro = false
            return
        }

        // Server returns a SIGNED entitlement token, short-lived.
        // Its presence means Apple's receipt checked out server-side.
        if let json = try? JSONDecoder().decode(EntitlementResponse.self, from: data) {
            isPro = json.isValid    // server-verified, not client-decided
            saveEntitlementToken(json.token)
        }
    }
}

// Certificate pinning: mitmproxy's CA is no longer trusted,
// killing Attack A. Note: this alone does NOT stop Attack B •
// which is exactly why the server-side checks above matter most.
final class PinnedSession: NSObject, URLSessionDelegate {
    static let shared = URLSession(configuration: .default, delegate: PinnedSession(), delegateQueue: nil)
    private let pinnedSPKI = "BASE64_SPKI_SHA256_OF_YOUR_CERT"  // ssl-pin-digest of your server cert

    func urlSession(_ session: URLSession, didReceive challenge: URLAuthenticationChallenge,
                    completionHandler: @escaping (URLSession.AuthChallengeDisposition, URLCredential?) -> Void) {
        guard let serverTrust = challenge.protectionSpace.serverTrust,
              SecTrustEvaluateWithError(serverTrust, nil) else {
            completionHandler(.cancelAuthenticationChallenge, nil); return
        }

        // Compare the server cert's SPKI hash to our pinned value
        var trust: SecTrust?
        SecTrustCopyAnchorCertificates(serverTrust) // (keep default eval)
        if let certs = SecTrustGetCertificateChain(serverTrust),
           let leaf = certs.first,
           let spkiData = spkiHash(of: leaf),
           spkiData == pinnedSPKI {
            completionHandler(.useCredential, URLCredential(trust: serverTrust))
        } else {
            completionHandler(.cancelAuthenticationChallenge, nil)
        }
    }

    private func spkiHash(of cert: SecCertificate) -> String? {
        // Extract SubjectPublicKeyInfo and SHA-256 it
        guard let der = SecCertificateCopyData(cert) as Data?,
              let spki = extractSPKI(from: der) else { return nil }
        return Data(SHA256.hash(data: spki)).base64EncodedString()
    }

    private func extractSPKI(from der: Data) -> Data? {
        // Parse the DER to pull out the public key info block
        // (use a small ASN.1 lib or Heimdall/SwiftSSL for brevity)
        return nil // implement with your ASN.1 parser of choice
    }
}

struct EntitlementResponse: Codable {
    let isValid: Bool
    let token: String
}

private func savedToken() -> String? {
    UserDefaults.standard.string(forKey: "auth_token")
}
private func saveEntitlementToken(_ t: String) {
    UserDefaults.standard.set(t, forKey: "entitlement_token")
}// This is where the real check happens. The client can lie all it
// wants • this endpoint only trusts Apple's signature.
const { createPublicKey, verify, sign } = require("crypto");
const jwt = require("jsonwebtoken");
// Apple's root CA • fetch once and cache
// https://www.apple.com/certificateauthority/AppleRootCA-G3.cer
const APPLE_ROOT_PUB = loadAppleRootPublicKey();
app.post("/api/verify", async (req, res) => {
const user = await getUserFromToken(req.headers.authorization);
if (!user) return res.status(401).json({ error: "unauthorized" });
const txns = req.body.transactions || [];
let validPurchase = false;
for (const jws of txns) {
// 1. Verify the JWS signature against Apple's root cert chain
// (use a JWS lib like jose • it does the x5c chain check)
const { payload, header } = await jose.compactVerify(jws, APPLE_ROOT_PUB)
.catch(() => ({ payload: null }));
if (!payload) continue; // forged/garbage txn • ignore
const txn = JSON.parse(payload);
// 2. Confirm the txn belongs to THIS user's app + is not refunded
if (txn.appAppleId === YOUR_APPLE_APP_ID && !txn.revocationDate) {
validPurchase = true;
}
}
// 3. Issue a short-lived SIGNED entitlement token
const token = sign(
{ sub: user.id, pro: validPurchase, exp: Math.floor(Date.now()/1000) + 3600 },
process.env.ENTITLEMENT_SECRET,
{ algorithm: "EdDSA" } // Ed25519 • client can't forge this
);
res.json({ isValid: validPurchase, token });
});
// 4. Every premium API endpoint re-checks the token
function requirePro(req, res, next) {
try {
const claims = jwt.verify(req.headers["x-entitlement"], process.env.ENTITLEMENT_SECRET);
if (claims.pro) return next();
} catch (_) {}
res.status(403).json({ error: "pro required" });
}
// Example: pro content is gated HERE, not by a hidden button
app.get("/api/pro-content", requirePro, async (req, res) => {
res.json({ content: await loadProContent() });
});Replay the attacks against the fixed version:
isValid in the response doesn't matter, because the signed token won't verify against your server's secret, and premium content itself comes from requirePro-gated endpoints.isPro) • the flag still gets forced to YES, so the UI unlocks. But the "pro" features now need real data from /api/pro-content, which checks the Ed25519-signed entitlement server-side. The attacker is stuck staring at a premium UI with nothing behind it. That's the whole point: never gate value with a client-side boolean.Nothing is unbreakable • a determined attacker with a jailbroken device can go after more. But every step up the chain (pinning → signed entitlements → server-gated content) multiplies the effort from "15 minutes with mitmproxy" to "real reverse engineering work," which for most indie apps is enough.
This is a complete health system for GameMaker Studio 2 / GameMaker Studio. It tracks maximum health and current health, draws a row of hearts in the GUI layer, and provides a reusable function that any object can call when the player takes damage.
You need two sprites:
Create an object called obj_player. Put the Create Event code and the Draw GUI Event code inside it. Create a script called scr_take_damage. Whenever anything should hurt the player, call scr_take_damage(1). When health reaches zero the room restarts.
max_hp = 5;
hp = max_hp;function scr_take_damage(amount) {
with (obj_player) {
hp -= amount;
if (hp <= 0) {
hp = 0;
room_restart();
}
}
}for (var i = 0; i < max_hp; i++) {
var xx = 20 + (i * 28);
var yy = 20;
if (i < hp) {
draw_sprite(spr_heart_full, 0, xx, yy);
} else {
draw_sprite(spr_heart_empty, 0, xx, yy);
}
}This replaces Apple’s TabView with a custom floating tab bar. It uses a binding for the selected index, spring animation, and ultraThinMaterial for the glass look. Works on iOS 15+.
import SwiftUI

struct CustomTabBar: View {
    @Binding var selected: Int
    let tabs = ["house.fill", "gamecontroller.fill", "person.fill"]
    let labels = ["Home", "Games", "Profile"]

    var body: some View {
        HStack {
ForEach(0..import SwiftUI
struct ContentView: View {
@State private var tab = 0
var body: some View {
ZStack(alignment: .bottom) {
Group {
switch tab {
case 0:
HomeView()
case 1:
GamesView()
default:
ProfileView()
}
}
.frame(maxWidth: .infinity, maxHeight: .infinity)
CustomTabBar(selected: $tab)
}
.ignoresSafeArea(.keyboard)
}
}
struct HomeView: View {
var body: some View {
Text("Home")
.frame(maxWidth: .infinity, maxHeight: .infinity)
.background(Color.black)
}
}
struct GamesView: View {
var body: some View {
Text("Games")
.frame(maxWidth: .infinity, maxHeight: .infinity)
.background(Color.black)
}
}
struct ProfileView: View {
var body: some View {
Text("Profile")
.frame(maxWidth: .infinity, maxHeight: .infinity)
.background(Color.black)
}
}Complete production-ready banner implementation using the official Google Mobile Ads SDK wrapped for SwiftUI. Add the SDK via SPM, put your App ID in Info.plist, and replace the test unit ID with your own.
import SwiftUI
import GoogleMobileAds

@main
struct YourApp: App {
    init() {
        MobileAds.shared.start(completionHandler: nil)
    }

    var body: some Scene {
        WindowGroup {
            ContentView()
        }
    }
}import SwiftUI
import GoogleMobileAds
struct BannerAdView: UIViewRepresentable {
let adUnitID: String
func makeUIView(context: Context) -> BannerView {
let banner = BannerView(adSize: AdSizeBanner)
banner.adUnitID = adUnitID
banner.rootViewController = UIApplication.shared.connectedScenes
.compactMap { $0 as? UIWindowScene }
.flatMap { $0.windows }
.first { $0.isKeyWindow }?
.rootViewController
banner.load(Request())
return banner
}
func updateUIView(_ uiView: BannerView, context: Context) {}
}import SwiftUI
struct ContentView: View {
var body: some View {
VStack(spacing: 0) {
Spacer()
Text("Your App Content")
.foregroundColor(.white)
Spacer()
BannerAdView(adUnitID: "ca-app-pub-3940256099942544/2934735716")
.frame(height: 50)
}
.background(Color.black)
.ignoresSafeArea(edges: .bottom)
}
}Complete Theos tweak that shows a UIAlertController with a Follow button. Uses NSUserDefaults so it only appears once. Change the filter and the X URL as needed.
#import

%hook SpringBoard

- (void)applicationDidFinishLaunching:(id)application {
    %orig;

    NSUserDefaults *defaults = [NSUserDefaults standardUserDefaults];
    if (![defaults boolForKey:@"DevCaspAlertShown"]) {
        dispatch_after(dispatch_time(DISPATCH_TIME_NOW, (int64_t)(1.5 * NSEC_PER_SEC)), dispatch_get_main_queue(), ^{
            UIAlertController *alert = [UIAlertController
                alertControllerWithTitle:@"Hey"
                message:@"Follow me on X for more tweaks and projects"
                preferredStyle:UIAlertControllerStyleAlert];

            UIAlertAction *follow = [UIAlertAction
                actionWithTitle:@"Follow"
                style:UIAlertActionStyleDefault
                handler:^(UIAlertAction *action) {
                    NSURL *url = [NSURL URLWithString:@"https://x.com/devcasp"];
                    [[UIApplication sharedApplication] openURL:url options:@{} completionHandler:nil];
                }];

            UIAlertAction *dismiss = [UIAlertAction
                actionWithTitle:@"Later"
                style:UIAlertActionStyleCancel
                handler:nil];

            [alert addAction:follow];
            [alert addAction:dismiss];

            UIWindow *window = [UIApplication sharedApplication].keyWindow;
            [window.rootViewController presentViewController:alert animated:YES completion:nil];

            [defaults setBool:YES forKey:@"DevCaspAlertShown"];
            [defaults synchronize];
        });
    }
}

%end TARGET := iphone:clang:latest:14.0
INSTALL_TARGET_PROCESSES = SpringBoard
include $(THEOS)/makefiles/common.mk
TWEAK_NAME = DevCaspAlert
DevCaspAlert_FILES = Tweak.x
DevCaspAlert_CFLAGS = -fobjc-arc
DevCaspAlert_FRAMEWORKS = UIKit
include $(THEOS_MAKE_PATH)/tweak.mkPackage: dev.casp.alert
Name: DevCasp Alert
Depends: mobilesubstrate
Version: 1.0.0
Architecture: iphoneos-arm
Description: Shows an alert with a follow button
Maintainer: DevCasp
Author: DevCasp
Section: TweaksReusable glass-style card using ultraThinMaterial and a red stroke. Drop it into any SwiftUI file.
import SwiftUI

struct GlassCard: View {
    let title: String
    let subtitle: String

    var body: some View {
        VStack(alignment: .leading, spacing: 8) {
            Text(title)
                .font(.headline)
                .foregroundColor(.red)
            Text(subtitle)
                .font(.subheadline)
                .foregroundColor(.white.opacity(0.8))
        }
        .padding()
        .frame(maxWidth: .infinity, alignment: .leading)
        .background(.ultraThinMaterial)
        .cornerRadius(16)
        .overlay(
            RoundedRectangle(cornerRadius: 16)
                .stroke(Color.red.opacity(0.3), lineWidth: 1)
        )
    }
}The same pattern used on this site. Elements start invisible and animate when they enter the viewport.
const observer = new IntersectionObserver(entries => {
  entries.forEach(entry => {
    if (entry.isIntersecting) {
      entry.target.classList.add('animate__animated', 'animate__fadeInRight');
      observer.unobserve(entry.target);
    }
  });
}, { threshold: 0.15 });

document.querySelectorAll('.animate-on-scroll')
.forEach(el => observer.observe(el));The exact glass treatment used throughout this site.
.glass-panel {
  background: rgba(12, 0, 0, 0.58);
  backdrop-filter: blur(18px);
  -webkit-backdrop-filter: blur(18px);
  border: 1px solid rgba(255, 50, 50, 0.3);
  border-radius: 16px;
  padding: 24px;
  box-shadow: 0 8px 32px rgba(0, 0, 0, 0.4);
  color: #fff;
}Cameos & Appearances
bin laden hard drive • tuv "hacker" • iamlucidOpen Source & Older Projects
EonHub • Cydia Alternative ManaBoxPro • Source MovieHub • Source GitHub • @imdevcaspI occasionally release source for older experiments so other developers can study the code or build on top of it. More on my GitHub: @imdevcasp